Camouflaging airsoft gun with Camo Pen products
How to use Camo pens?
Camo pens are basically pens with paint in them. By analysing their principle of operation, you can find many similarities to oil markers or other similar products used to create graffiti. What is important in the case of the invention analysed in this article is the fact that the Camo pens have a specific tip with a sponge, which makes it easier for us to apply micropatterns in various colours to the airsoft guns. Through stronger, more intensive application of paint, we can easily modify the texture of the painted surface. By releasing more paint from Camo pen, by applying a thicker layer of it, we create a delicate surface in a given place. Thanks to this, the final effect is first of all interesting, but also makes it easier to camouflage the surface by non-uniform light reflection.
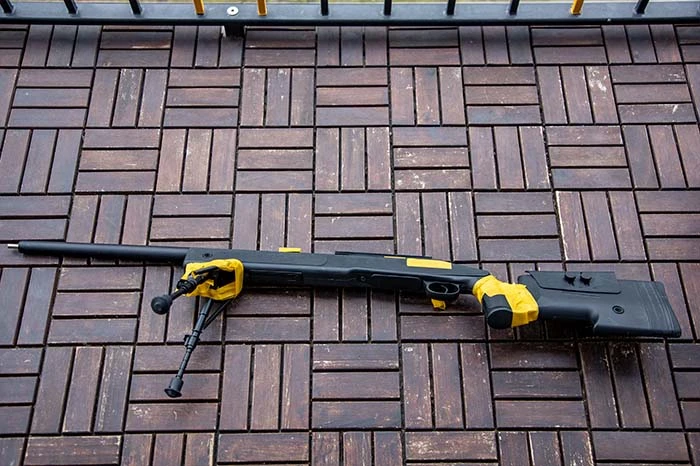
1. This is how airsoft gun looks like when I masked few elements before painting.
Before we start working on painting airsoft gun with Camo Pen products, we must remember a few things. First of all, we need to get these sponge-tip pens. When ordering them, it is best to bet on the entire set right away. One or two colours is, in my opinion, definitely not enough to create an interesting pattern. The best solution is to buy a set of five. In such sets, the manufacturer himself proposes them. When looking for these paints in the store to paint guns to be used in Central European or similar conditions, I suggest you buy, several different shades of green. Other colours appear to be secondary. Likewise, I recommend choosing rather darker shades. Even after drying, the paints have vivid colours. When choosing the base, also aim at subdued variants.
Step by step guide to paint your airsoft gun
Depending on the size of the surface we want to paint, we may need from several minutes to even several hours. All because between layers of different colours we have to wait for the previous one to dry. Additionally, applying a given colour is quite a tedious process. In practice, in order to cover a given area well with paint, we have to press it several times with Camo pen. Although the tip of this device seems relatively large, especially when painting the entire gun, we have to press it down many times to paint over larger elements.
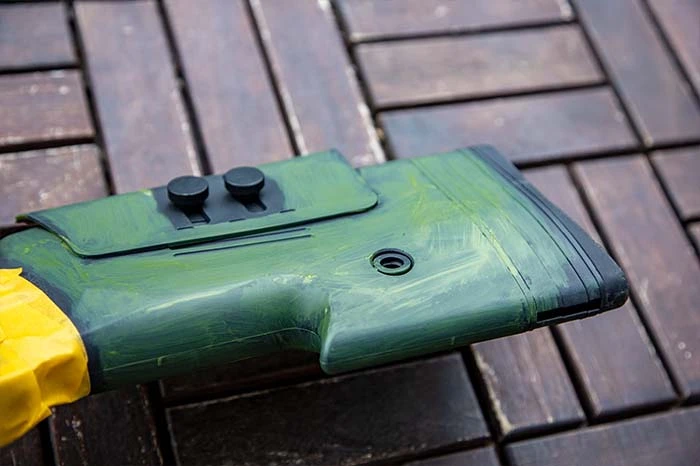
2. First layer might not cover your replica very well but don't worry.

3. Before our paint dries out it might look like a different colour.
We start painting with the colour we choose as the base. For my part, I recommend that it be one of the darker shades of green, because it will be the dominant colour of the entire object being painted. Before use, our sponge-tip pen with paint should be shaken. Apply a layer evenly pressing the Camo Pen tip and leaving paint spots. We can also apply strokes after squeezing out a little paint, but personally I'm not a fan of this method because it is difficult to achieve even coverage with it. The activity should be performed in a well-ventilated room. I have not found any information that the paint is toxic, but its intense smell may be unpleasant when you paint it. When applying the base layer, we do not have to try to perfectly cover the entire surface of the painted object. This is only the first layer. The next colours will help us cover the original colour of the replica.
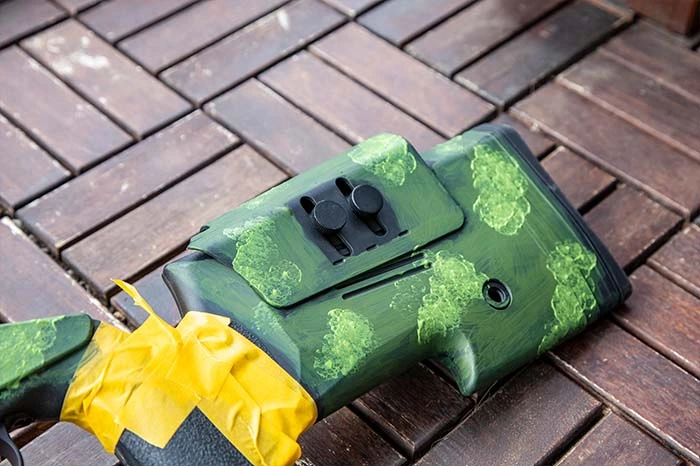
4. Second colour is applied in smaller patterns.
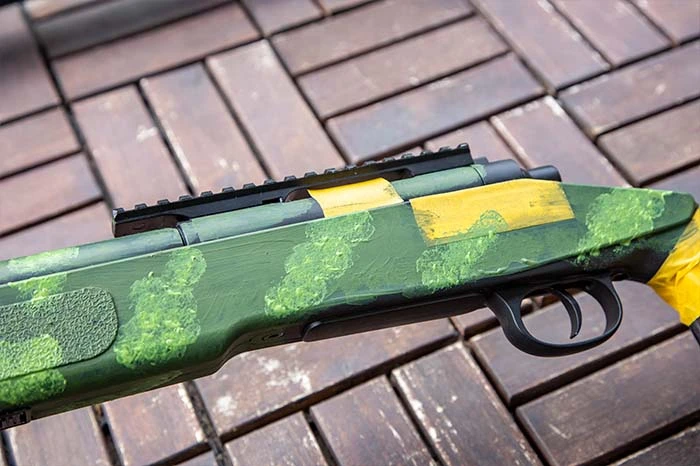
5. I used diagonal patterns in my camouflage.
After applying the base colour, we systematically move to the next shades. We apply them using a similar technique as the previous one. By pressing the tip of the Camo Pen, we leave spots. At this stage, I try to make quite large areas of the next colour, but I do not cover the entire airsoft gun with it.

6. I systematically add further colours.
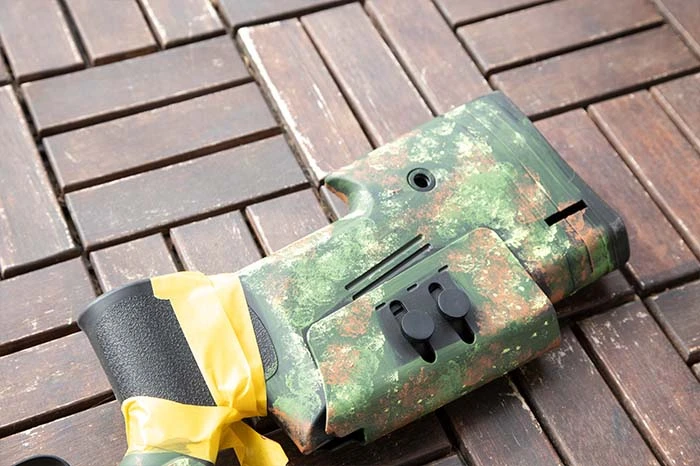
7. I use darker and lighter colours one after another.

8. After I use all my colours I get back to base one.
Depending on the conditions in which we paint our objects, the waiting time between successive layers may vary. I wait between 10 and 15 minutes, but before applying a new colour, I check visually that the paint is not shiny and, if necessary, check with my finger that it does not leave any traces. All this in order not to contaminate the next Camo pen with the remains of the previous layer.
We put another colour and another. After using all the shades we have, it's time to go back to the base layer. I think it is a good practice to apply the colour that was our first also at the end to avoid losing it completely in the later layers. If necessary, we apply further layers using Camo pens with which we have already applied the previous colours. When we achieve a satisfactory effect, we leave the painted object to dry completely. According to the manufacturer, the paint reaches its full strength after a minimum of 24 hours, but this time may be extended depending on the conditions.
Conclusions
Camo pens are an easy and quick way to paint our airsoft guns and gear. Its definite advantages include ease of use. We do not need a complicated system of covers to prevent contamination of the environment as in the case of spray paints. Camo pens are small but quite efficient. We can freely choose the colours we need or buy a ready-made set. The applied camouflage leaves a matte layer with an interesting structure created thanks to the sponge applicator. This makes the masking properties of objects painted with this method satisfactory.
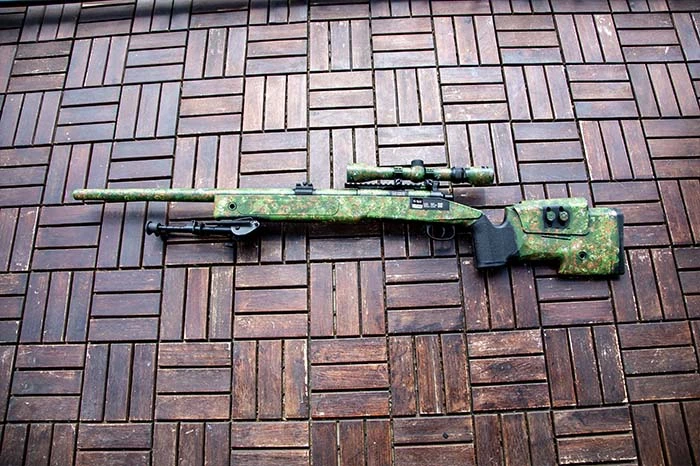
9. Final effect
Before writing this article, I already had some experiences with Camo Pen. I painted them, for example, the cover of the sports cam, which I use practically on every skirmish, and my CM030 electric pistol. After some time, if the surface we painted is exposed to abrasions, we may come across a situation where the paint comes off very easily. In my case, some parts of the painted replica of the pistol were worn after inserting and removing from the holster. Additionally, despite the general ease of use, I must admit that to be completely satisfied with the effects of painting the first items, I had to experiment a bit. The point is that, unlike spray paints or other methods, our camouflage pattern here is created by making small presses on the Camo Pen sponge tip. This is a very effective way of applying small patterns, but it requires concentration when painting larger surfaces, so as not to cover the previous layers with new colours. Overall, the experience with the Camo Pen product is definitely positive. This is my default method of painting equipment and after longer use I am definitely satisfied.
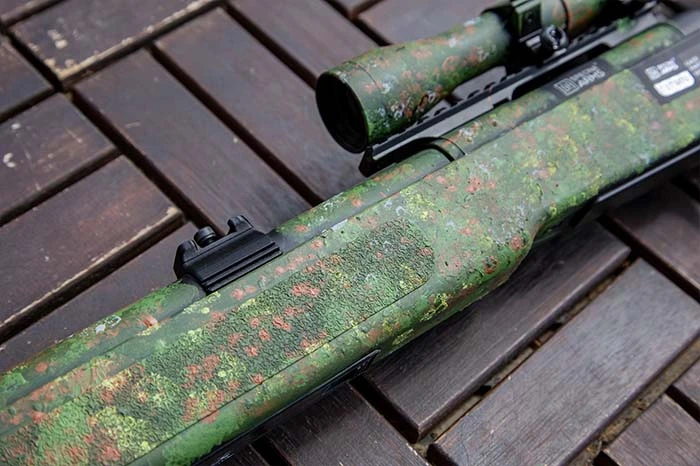
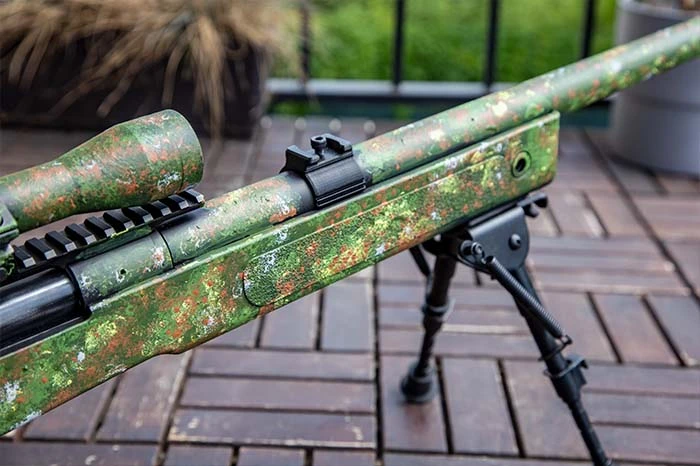
10., 11. Final effect
Author: Boreq
Check out similar entries:


